


What’s the secret to a golden, flaky pie crust for your favorite Heartland fruit pies?
Unlocking the Secret to the Perfect Pie Crust
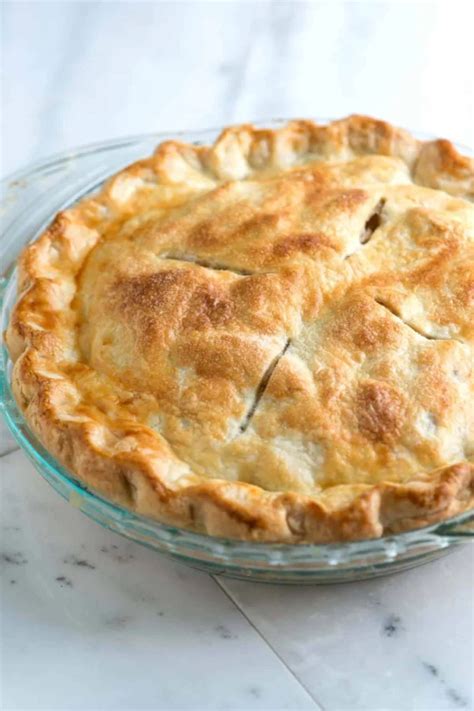
There’s something truly magical about a homemade pie, especially one filled with the bountiful fruits of the Heartland. But let’s be honest, the true star often isn’t just the filling; it’s that glorious, golden, and impossibly flaky crust. Achieving this culinary masterpiece can feel daunting, yet with a few tried-and-true techniques and a little understanding of your ingredients, you can consistently bake a crust that earns rave reviews. Get ready to unveil the secrets to pie crust perfection.
The Foundation: Quality Ingredients and Temperature Control
The journey to a sublime pie crust begins before you even touch a mixing bowl. The quality and temperature of your fat and water are paramount.
1. The Right Fat: Butter, Shortening, or Lard?
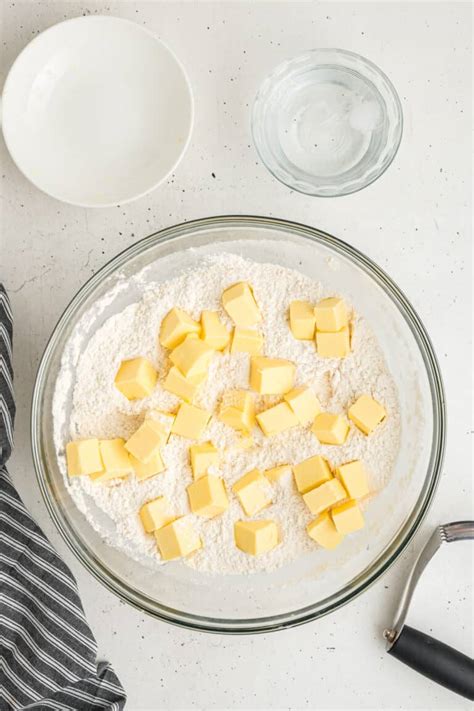
Each fat brings something unique to the table. Butter offers unparalleled flavor and a crisp flakiness. Shortening creates an incredibly tender and flaky crust with excellent structure, while lard provides an old-fashioned richness and superb tenderness. Many bakers find success with a combination, often using half butter for flavor and half shortening for tenderness and workability. The key, no matter your choice, is that your fat must be ice cold. Cold fat creates tiny pockets of steam during baking, which separate the layers of dough, resulting in that coveted flakiness.
2. Ice-Cold Water is Non-Negotiable
Just like your fat, your water needs to be as cold as possible—ideally with a few ice cubes floating in it, removed just before use. Cold water inhibits gluten development, preventing a tough crust. It also helps keep the fat solid, which is essential for flakiness.
Mastering the Technique: Gentle Handling is Key
Once you have your ingredients prepped, the next step is all about gentle hands and precise timing.
3. The Art of Mixing: Don’t Overwork It!
Whether you’re using your fingertips, a pastry blender, or a food processor, the goal is to cut the cold fat into the flour until it resembles coarse meal with some pea-sized pieces remaining. These larger pieces are what melt during baking to create those desirable pockets of steam. When adding the ice water, do so sparingly, a tablespoon at a time, until the dough just barely comes together. Overmixing develops gluten, leading to a tough, chewy crust rather than a tender, flaky one. Stop mixing as soon as the dough forms a shaggy ball.
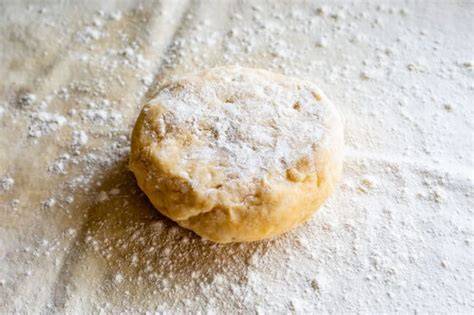
4. The Essential Chill: Rest and Relaxation
After mixing, gently form the dough into a disc, wrap it tightly in plastic, and refrigerate it for at least 30 minutes, or preferably an hour or more. This chilling period allows the gluten to relax, making the dough easier to roll, and it re-solidifies the fat, which is crucial for flakiness. Don’t skip this step!
From Dough to Delight: Rolling and Baking
With a properly chilled dough, you’re now ready to transform it into a beautiful base for your fruit pie.
5. Rolling with Confidence: Even Thickness Matters
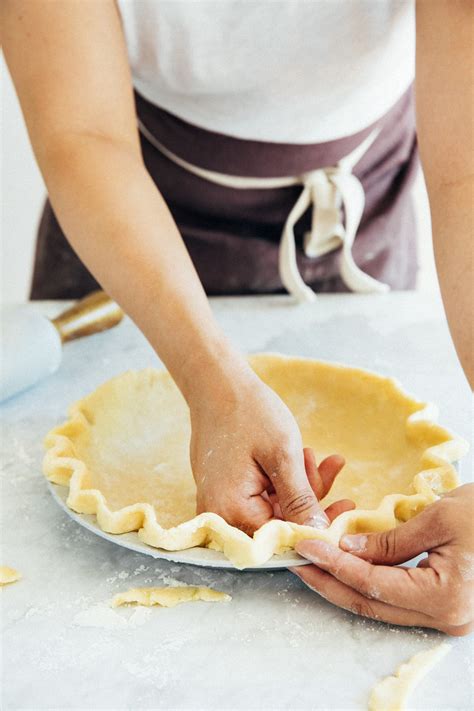
On a lightly floured surface, roll your dough from the center outwards, turning it occasionally to prevent sticking and cracking. Aim for an even thickness (about 1/8 inch) and a circle roughly 2 inches larger than your pie plate. Uneven thickness can lead to uneven baking. Handle the dough as little as possible to keep it cold and prevent gluten development.
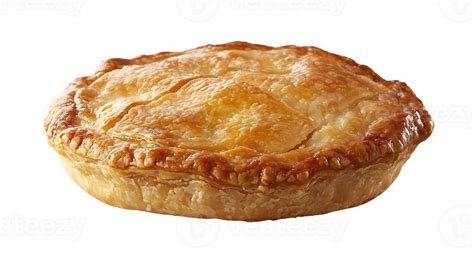
6. The Golden Touch: Egg Wash and Baking Temperature
For that irresistible golden sheen, consider an egg wash (a beaten egg mixed with a splash of milk or water) applied just before baking. This not only enhances color but can also contribute to crispness. Preheat your oven to a relatively high temperature (often 400-425°F or 200-220°C) initially for the first 15-20 minutes, then reduce it to complete baking. The initial high heat helps set the crust quickly and encourages the fat to steam, creating flakiness, while the lower temperature ensures the crust bakes through without burning.
Troubleshooting Common Pie Crust Woes
- Soggy Bottom: Prevent this by blind baking your crust if the filling is very wet or requires a shorter baking time. Ensure your oven is hot enough, and consider brushing the bottom crust with a thin layer of egg white before filling.
- Tough Crust: Almost always a result of overworking the dough or using warm water. Remember, gentle handling and cold ingredients are your best friends.
- Shrinking Crust: Insufficient chilling time is often the culprit. The dough needs to relax before baking.
Armed with these secrets, you’re well on your way to baking a pie crust that is not only golden and flaky but also perfectly complements the sweet and tangy flavors of your favorite Heartland fruit fillings. Embrace the process, don’t be afraid to experiment, and soon you’ll be creating pie masterpieces that will become cherished traditions in your home. Happy baking!