


How to prevent dry pot roast while maximizing deep flavor?

Mastering the Midwest Classic: A Guide to Succulent Pot Roast
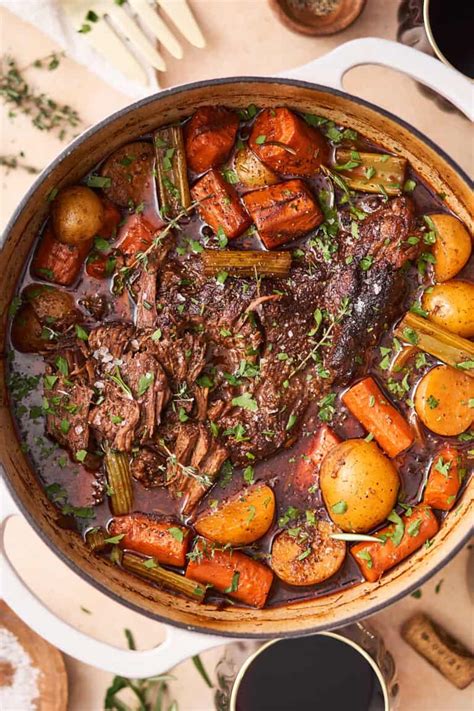
The pot roast holds a revered spot in the hearts of many, especially throughout the Midwest, conjuring images of comforting Sunday dinners and hearty family meals. Yet, achieving that perfect balance of fork-tender meat and deep, complex flavors can sometimes be elusive, often resulting in a dry, underwhelming dish. This guide delves into the essential techniques and time-honored practices to ensure your pot roast is always juicy, flavorful, and truly unforgettable.
Choosing the Right Cut: The Foundation of Flavor
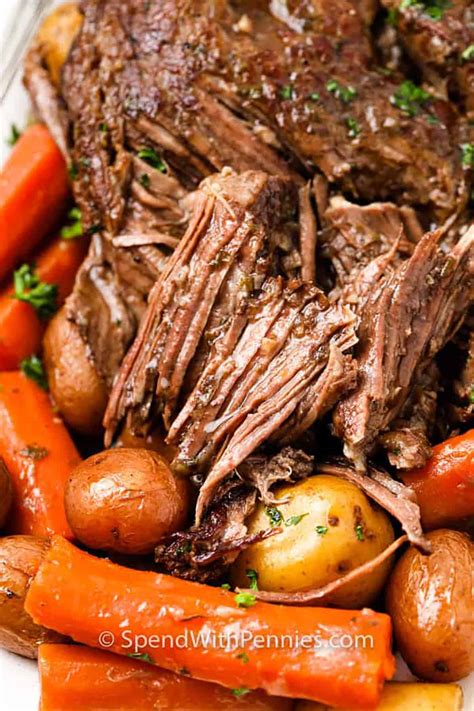
The journey to a sublime pot roast begins with selecting the appropriate cut of meat. For unparalleled results, the undisputed champion is the chuck roast. This cut, sourced from the shoulder, boasts a generous amount of marbling and connective tissue (collagen). While these features might make it seem tough initially, they are precisely what break down during slow cooking, transforming into gelatin that infuses the meat with incredible moisture and richness. Avoid leaner cuts like bottom round or eye of round, as they lack the marbling necessary to withstand long cooking times without drying out.
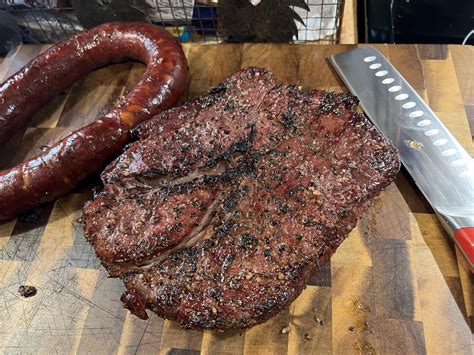
The Power of a Proper Sear: Building Flavor Depth
Before any liquid touches your roast, a deep, dark sear is non-negotiable. This crucial step, known as the Maillard reaction, creates a crust of concentrated, savory flavor on the exterior of the meat. To achieve this:
- Pat your roast thoroughly dry with paper towels; moisture inhibits browning.
- Heat a heavy-bottomed Dutch oven or oven-safe pot over medium-high heat with a high-smoke-point oil (like canola or grapeseed).
- Sear the roast on all sides until it develops a rich, dark brown crust. Don’t rush this process – it could take 3-5 minutes per side. Remove the roast and set it aside.

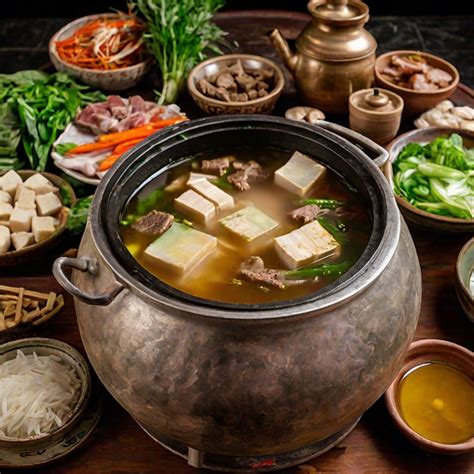
Crafting the Perfect Braising Liquid: Moisture and Aroma
The braising liquid is not merely for moisture; it’s a vital component for building deep flavor. Instead of plain water, use a robust combination:
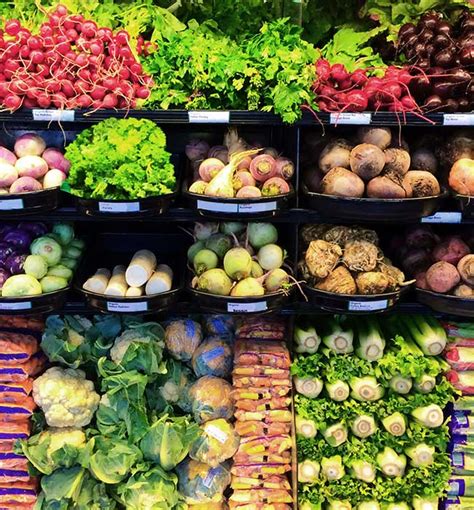
- Aromatics: Sauté chopped onions, carrots, and celery in the same pot after searing the meat, scraping up any browned bits (fond) from the bottom.
- Tomato Paste: A tablespoon or two of tomato paste, cooked for a minute or two with the vegetables, adds a layer of umami and depth.
- Broth: High-quality beef broth or stock is essential. If desired, a splash of dry red wine can introduce complexity.
- Herbs & Spices: Fresh sprigs of rosemary and thyme, bay leaves, and black peppercorns will slowly infuse the liquid with their fragrant essences.
Pour enough liquid to come about one-third to halfway up the sides of the roast. This ensures proper braising without submerging the meat entirely, allowing the top to caramelize slightly.
Low and Slow: The Secret to Tenderness
Patience is paramount when it comes to pot roast. The collagen in chuck roast requires a long, gentle cooking period to break down into succulent gelatin. This is where the term “low and slow” truly shines:
- Preheat your oven to a moderate temperature, typically between 300-325°F (150-160°C).
- Return the seared roast to the pot with the braising liquid and aromatics.
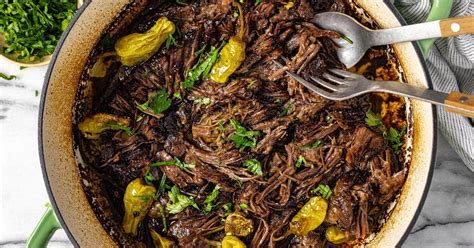
- Cover the pot tightly with a lid and cook for 3-4 hours, or until the meat is incredibly tender and can be easily shredded with a fork. Resist the urge to constantly check – every time you lift the lid, heat escapes, extending the cooking time.

The Art of Resting: Juices Retained
Once your pot roast is cooked to perfection, the work isn’t quite done. Resting the meat is a critical step that often gets overlooked, but it’s vital for preventing dryness. When meat cooks, its muscle fibers tighten, pushing juices to the center. Allowing the roast to rest outside the liquid, tented loosely with foil, gives those juices time to redistribute throughout the meat, resulting in a more succulent and moist final product. Rest for at least 15-20 minutes before shredding or slicing.
Finishing Touches and Flavor Enhancements
While the roast rests, you can perfect your gravy. Strain the braising liquid, skim off excess fat, and reduce it on the stovetop until thickened, perhaps with a cornstarch slurry for a richer consistency. Add fresh vegetables like potatoes, carrots, or pearl onions to the pot during the last hour of cooking to absorb the delicious flavors of the braising liquid and provide a complete meal.
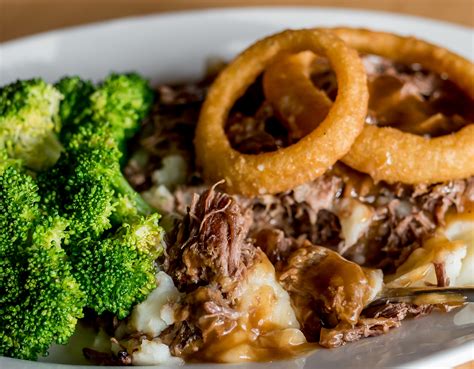
By following these essential steps – from choosing the right cut and mastering the sear to slow braising and allowing for a proper rest – you’ll transform a simple chuck roast into a moist, deeply flavorful, and truly memorable Midwest classic that will be the star of any table.